Early History of Photography
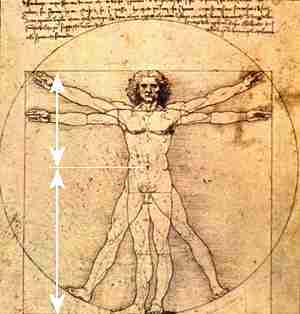
Leonardo Da Vinci - Vitruvian Man
During the early 16th artists became increasingly interested in depicting realistic proportional figures in their artworks. Many artists of the time became interested in advancing scientific knowledge, such as Leonardo Da Vinci, well know for his scientific observations and anatomical drawings, such as 'Vitruvian Man', a well known drawing depicting the 'divine proportion'.
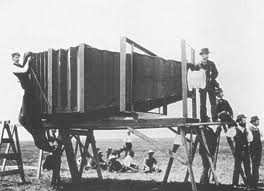
In an attempt to achieve perfect precision, artists developed instruments to assist them. One of the first inventions was the camera obscura, a dark room or space where an inverted image was projected onto a surface.
Later more developed inventions with a similar layout were created, which were smaller and could achieve greater precision with ease, such as the camera lucida, a portable optical device.
Basic summary of the Camera Obscura
|

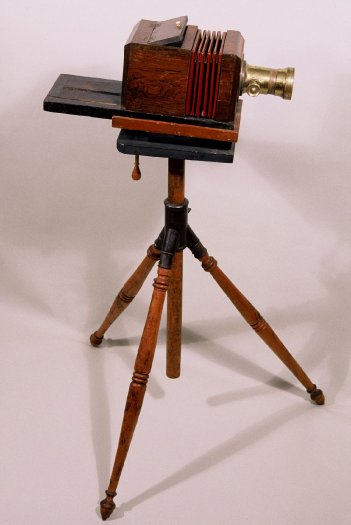
Camera Obscura
|
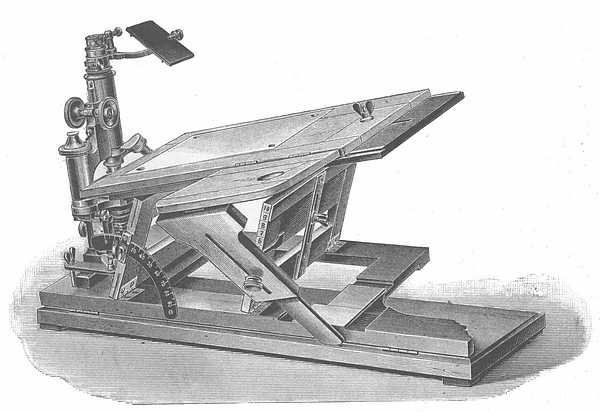
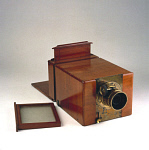
Camera Lucida
|
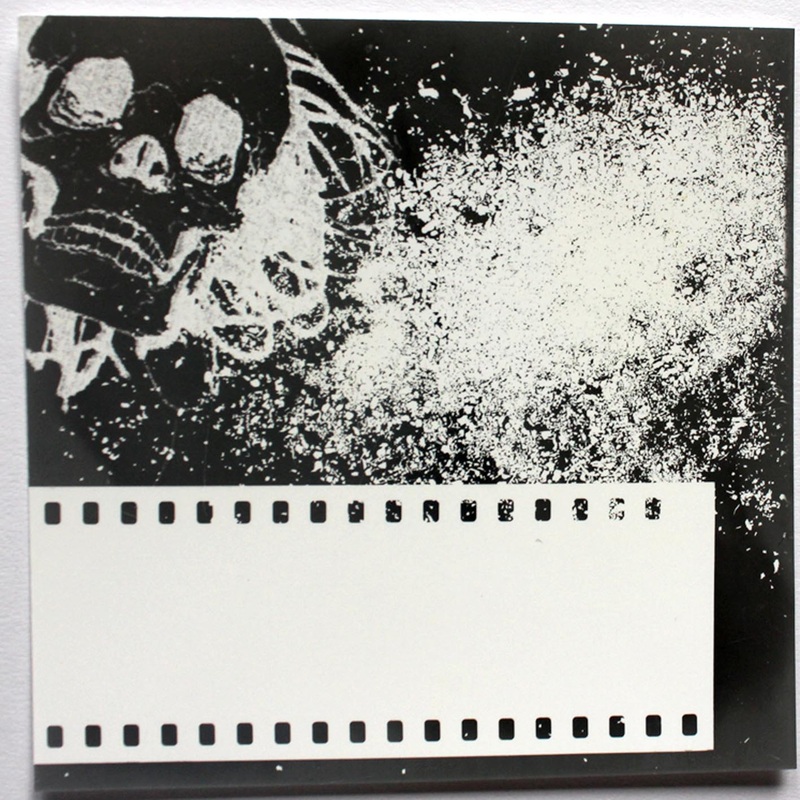
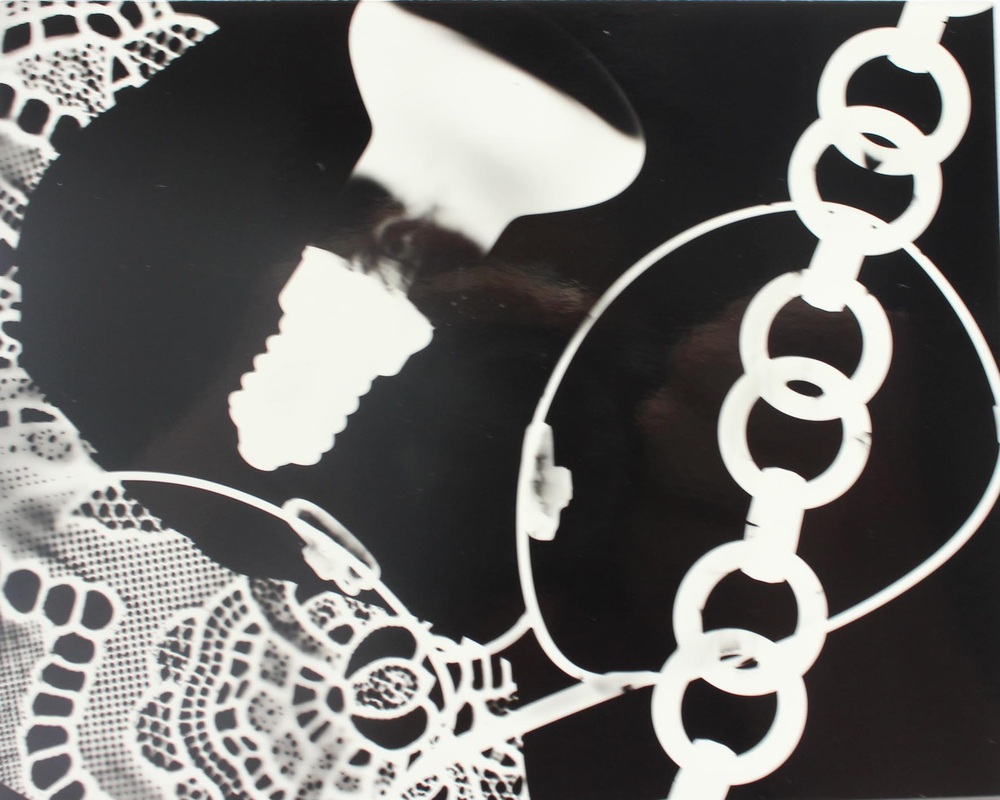
The two images above show how easy it can be to make a photogram, however the most interesting photograms are those that play around with the silhouettes made by varied transparency.
|
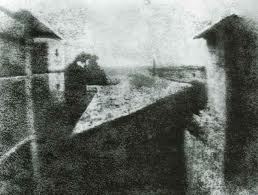
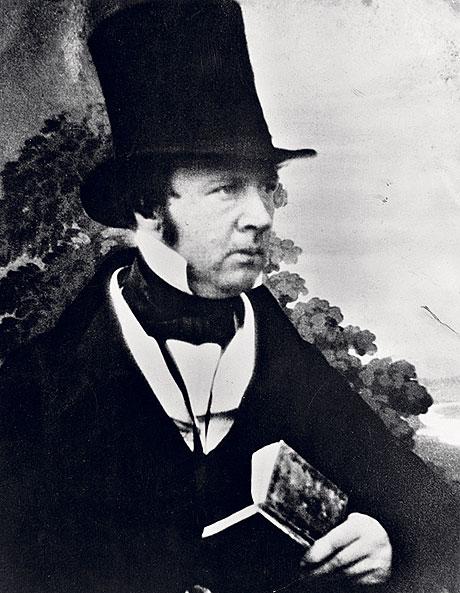
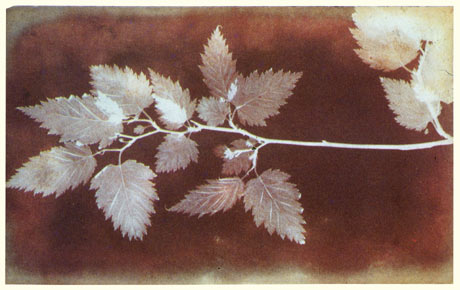
As the industrial revolution progressed during the early 1800s, artists moved forward with the assistance of early mass production. In 1827 a french artist, scientist and inventor, Joseph Nicéphore Niépce was the first to successfully produce a projected image. The process used bitumen as a coating on glass or metal, which hardened with exposure to light. When the plate was washed with oil of lavender, only the hardened image area remained. Prior to this invention, there was never an opportunity to fix an image of the world with such precision. Artists spent years developing skills to paint and sculpt realistically and later invented tools such as the Camera Lucida and Camera Obscura, but the camera shifted the way artists started to think and has influenced the world ever since. Louis Daguerre, a french artist and physicist worked with Niépce to produce the projected image. Daguerre was a painter of illusionary and sets in the popular Diorama, a theatre in Paris. He is recognised for his invention of the Daguerrotype method of photography. The daguerreotype was the first commercially successful photographic process. Daguerreotype is a type of photograph that is laterally reversed and printed onto a metal plate and released to the public in January, 1839. The image is a direct positive made in the camera on a silvered copper plate. Around the same time as the release of the Daguerreotype, William Henry Fox Talbot invented a similar device called the Calotype. This had one clear advantage over the Daguerreotype; it could reproduce negatives of an image, rather than producing a single, unduplicatable image. However the images produced were poor quality and lacked the sharpness that the Daguerreotype could produce, making it unpopular in the early years of its release. Over the years due to continuous re-invention and improvements in paper technology, the Calotype eventually became the most popular photographic method of the time. Talbot's first photographic experiments involved contact images called photograms. A photogram is a photographic print made by placing objects over light sensitive paper and exposing it to light from above. This usually produces images with variation of tone that depends on the object's transparency. Talbot's first photograms were of plants and natural botanical objects, he called them 'Photogenic Drawings'. During the early 20th century artists part of the Modernist movement (mainly the Bauhaus movement) began to make artworks out of photograms that focused on space, form and movement. Examples of how playing with movement, opacity, repetition and space can make an interesting photogram are shown in the slideshow below. |

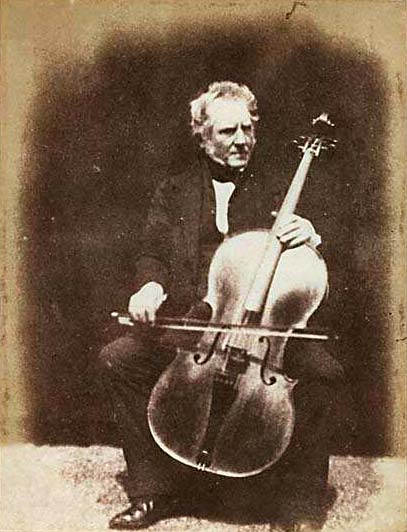
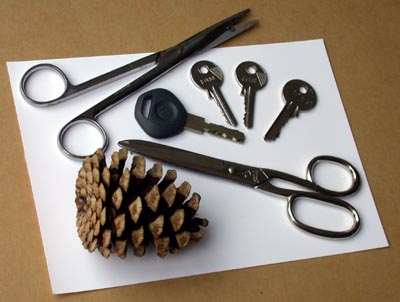
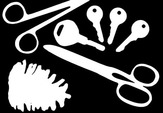
PhotogramsTo the right are a range of photograms I made myself, i chose
|
  |
Processing and Printing
|
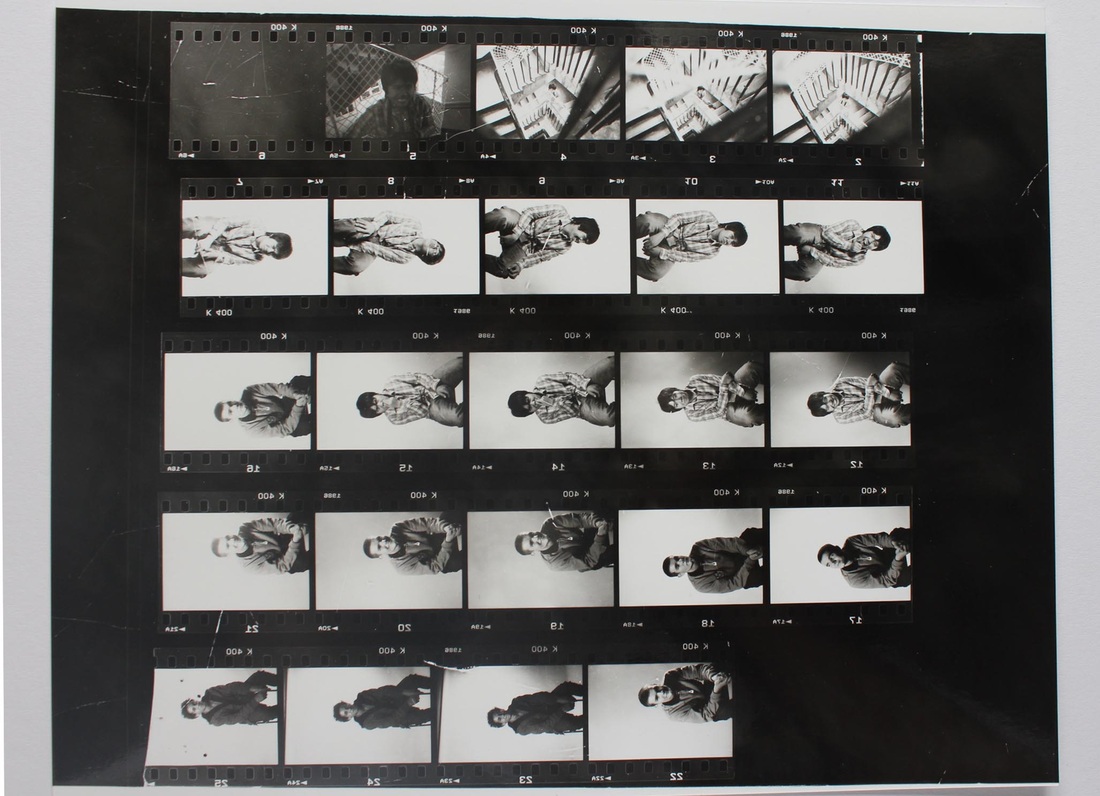
Contact SheetsA contact sheet is a positive print of the negative images on a film. Photographers use contact sheets as a useful way of seeing which are the best images on a film, making it easier to choose which images to enlarge.
Contact sheets are made similarly to photograms; by cutting your film into sections and sliding the sections into a plastic archival sleeve, the sleeve is then placed on top of photographic paper (under safe lighting) with the emulsion side down and a glass pane is placed over the sleeve. After exposure to light, processing and washing, a positive of the film can be seen on the paper. |
Test StripsTest strips are the key to good prints, they are used to determine the correct exposure time, contrast adjustments, and processing time before the full size
copy is printed. Many factors affect the exposure time when making a photographic print. One is the brightness of the lamp; some can start to fade very slowly as they get older. Second is the distance of the lamp from the paper, which varies depending on enlargement size, which can be adjusted. Then, thirdly, the aperture you have set your lens to, controlling the amount of light released and the speed and density of the paper should be taken into account. How to Make a Test Strip: - Set up your enlarger, with the negative you wish to print, cut to the desired print size. After focusing, stop down the lens 3 stops. - Take a strip of photographic paper and cut it to about 2 to 3 inches wide, you will also need a piece of opaque card to block the light. - Place the strip of photographic paper in the photographic easel under the enlarger, cover the paper with the card and set your enlarger timer to 2 seconds. - Uncover a section of the paper and press the enlarger timer button. When the set time has passed, and the timer has turned off the enlarger light, uncover another section of the paper. Turn on the timer again and repeat the procedure until all the paper has been exposed at different times. |

Making a test strip with different levels of light exposure.
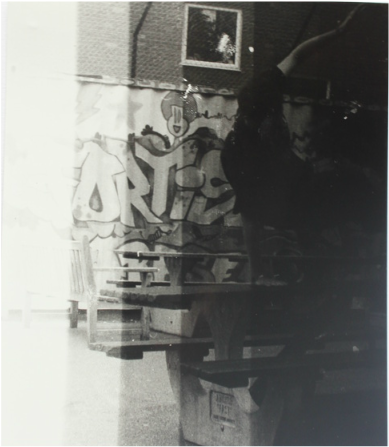
A test strip I made, following the instructions to the left.
|
